Quickstart#
Once installed, jdaviz can be run either in a Jupyter notebook or as a standalone web application.
Detailed workflows are given within the documentation, but some quick-start tips are given below.
In a Jupyter Notebook#
The power of Jdaviz is that it can integrated into your Jupyter notebook workflow:
from jdaviz import Imviz

imviz = Imviz()
imviz.show()
imviz.load_data('filename.fits', data_label='MyData')
Jdaviz also provides a directory of sample notebooks
to test the application, located in the notebooks sub-directory of the Git repository.
ImvizExample.ipynb is provided as an example that loads
two 47 Tucanae exposures taken with HST/ACS WFC detectors with the Imviz configuration.
To run the provided example, start the Jupyter kernel with the notebook path:
jupyter notebook /path/to/jdaviz/notebooks/ImvizExample.ipynb
Alternately, if you are using Jupyter Lab:
jupyter lab /path/to/jdaviz/notebooks/ImvizExample.ipynb
As a Standalone Application#
jdaviz provides a command-line tool to start the standalone desktop application in a browser.
To see the syntax and usage, from a terminal, type:
jdaviz --help
Typical usage to load a file into a desired configuration:
jdaviz --layout=[imviz|specviz|cubeviz|mosviz|specviz2d] /path/to/data/file
For example, to load a FITS image into Imviz:
jdaviz --layout=imviz my_image.fits
To learn more about the various jdaviz application configurations and loading data,
see the Imviz, Specviz, Cubeviz, Mosviz, or Specviz2D tools.
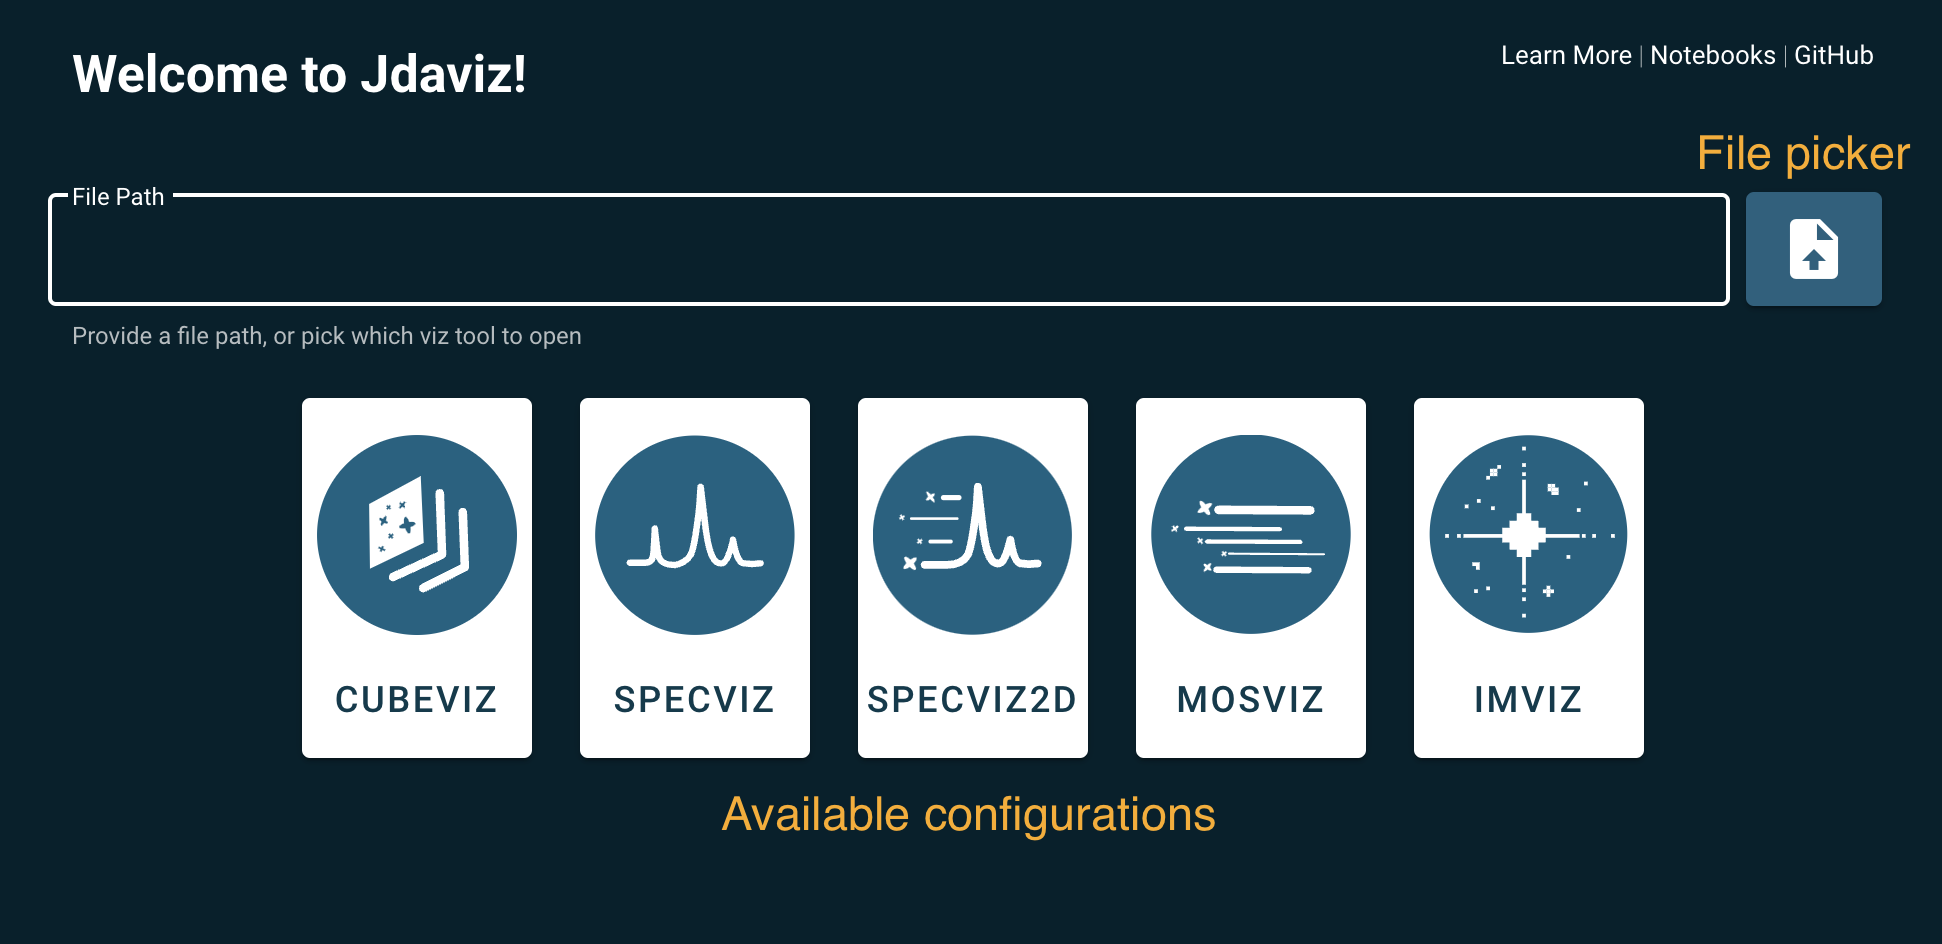
The command jdaviz without any additional input will run a launcher.
After launching jdaviz, the user can select a file from the file picker. The launcher
will identify the best configuration according to the file type. Alternatively, the user
can select the desired configuration by clicking one of the buttons without specifying a file.
A blank configuration will open and the IMPORT button will be available to select
a file from the file picker.
